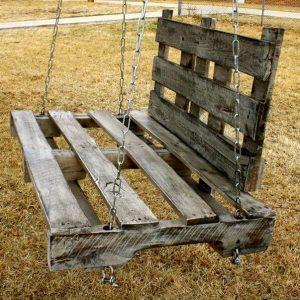
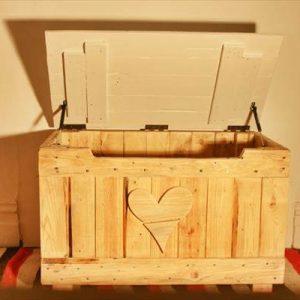
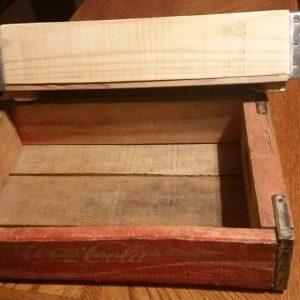
It’d be pretty hard to make anything if you didn’t have the right supplies for it, which is why procuring materials is a key part of any project. If you’re building an upcycled pallet project that requires wood like a picnic table or a birdhouse, you’ve got a few options in terms of materials.
You could buy lumber directly from the store, use scraps you’ve got lying around from past projects, or you could take the upcycling route! Upcycling something like a wooden shipping pallet is becoming increasingly popular. It’s more than just finding the pallet though. You have to know how to prep it for your project. And that’s what we’re here to tell you about.
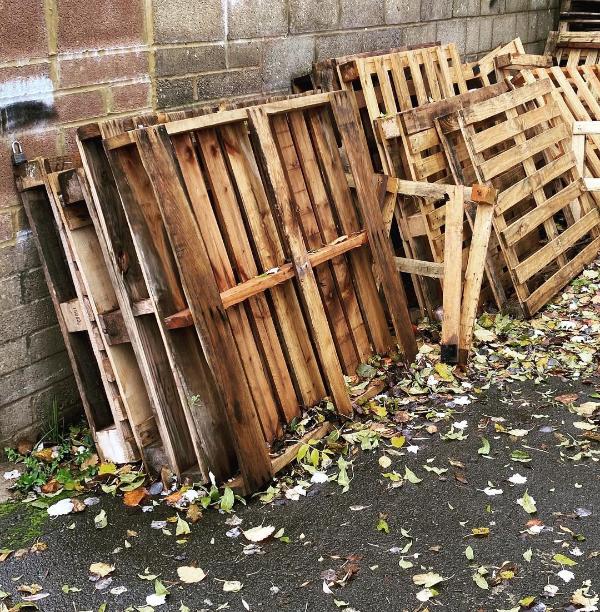
Choosing The Right Pallet
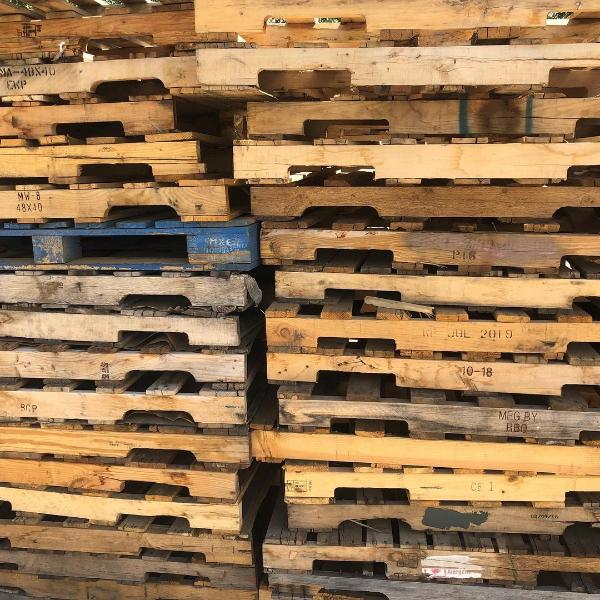
When collecting pallets for personal use, the first thing you need to consider before preparing the wood is where you’re getting the pallet from. What was it previously used for? What sorts of goods were transported using the pallets? Depending on what was transported, the wood could have chemicals or other toxic liquids on the surface. It’s best to choose a pallet that is stain-free whenever possible unless you’re certain that whatever caused the stain is safe for you to be in contact with.
When choosing your pallet, check the wood for nails or screws. Is any of the hardware damaged? Are the nails so twisted that you won’t be able to remove them properly? While checking for any problematic nails, take the time to inspect the wood, in general, to make sure it’s in good shape. You don’t want to find out halfway through the project that you have warped boards or a huge crack in the pallet.
Basic Cleaning
You’ve put in the effort to choose a pallet that’s relatively stain- or damage-free already, but once you’ve chosen the pallets you’re working with, you’ll want to clean them yourselves. If you have a power washer, now is the time to break it out and wash away any built-up grime or dirt that may be on the wood. You can scrub away at the surface with soapy water as well for the tough spots. Allow the pallet to dry completely after cleaning before moving on to the next steps of your project.
Note: While choosing a stain-free pallet and then cleaning the wood yourself removes a lot of the risk, there’s still no 100% way to guarantee you’ve cleaned everything off the surface. This is why many people choose not to use pallet wood for projects that will come in direct contact with food like for a wooden serving tray or cutting board.
Disassembling The Pallet
Now that you’ve gone to the effort of picking the right pallet and cleaning it, you need to take the same amount of care to disassemble all of the pieces. Unless you’re going to be using the full pallet to create something like a wall mount for plants, you’ll need to take apart the wooden pieces. When dismantling the pieces, you want to ensure you’re using proper tools to avoid splitting or cracking any of the pieces.
For disassembling, you’ll want to have a hammer and a crowbar or pry bar on hand. You’ll also want a nail punch, which can be used to drive the nails or screws out rather than trying to pry them loose and risking damage to the wood. If you use a pry bar or hammer to loosen tight planks, an oscillating tool can then be used to remove rusty or damaged nails and screws. When lifting up the planks with a pry bar, don’t rush the process. Go at each plank slowly with a little bit of pressure at a time so you don’t split the wood and ruin the planks before ever getting to build anything. For more information, check out this tutorial by Popular Mechanics.
Depending on how much wood you actually need for your project, there are some shortcuts you can take when disassembling the pallet. If whatever you are building doesn’t require long lengths of wood, rather than trying to deal with removing the nails, you can simply cut around them. You can use a saw to cut out the cross pieces of the pallet and leave the wood sections with the nails in them still attached to the exterior sides of the pallet.
A Quick Secondary Clean
While you already took the time to power wash and clean off your pallet, you should do a quick once-over of your wood once the pallet is broken down. You might not have been unable to reach every crevice or corner of the pallet when it was in its original shape. Take the time now to go inspect all your pieces one final time for stains or dirty spots before moving on to sanding, shaping, or sealing.
Sanding & Shaping
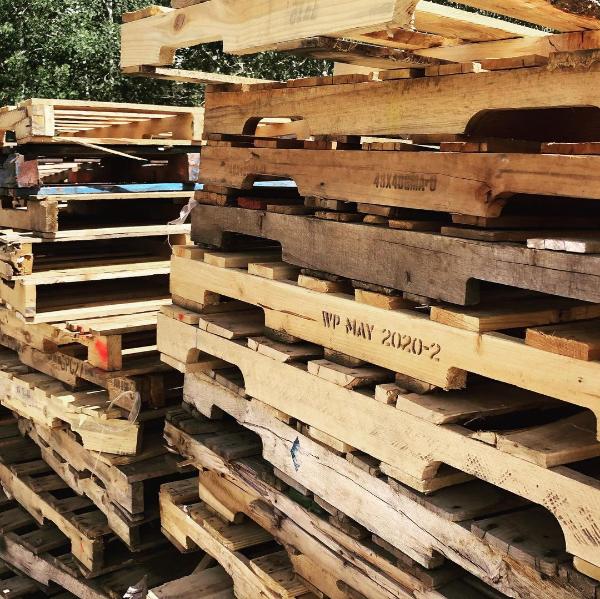
After you’ve broken down the pallet, you’ll then want to move on to shaping or cutting the wooden pieces you’ll need for your project. Remember that wood often shrinks over time so when you’re making cuts, avoid cutting near any existing holes or cracks in the wood so it won’t be as likely to break in the future.
To prepare the wood to be stained, painted, or varnished, you’ll need to sand the pallet pieces as well. Pallet wood can also be quite rough so sanding down the pieces can prevent someone from getting a splinter in their leg when they sit on the Adirondack chair you’re trying to construct. You can use regular sandpaper sheets or rolls that are medium grit (around 80 grit) or an orbital sander to make the process either; it’s up to you!
Regardless of what type of sanding you’re doing, make sure you’re sanding in an outdoor setting. Pallet wood has been exposed to any number of products or environments so to avoid breathing in any dust or debris that’s lifted during sanding, make sure you’re wearing proper PPE and sanding in an outdoor area.
Once the sanding and shaping portion of your prep is done, you’re ready to go ahead and get to the building. The pallet wood is ready to be painted or finished and ready to be built into whatever you want it to be!

