The culture of DIY has seen a massive surge in popularity in recent years, particularly among students. With the rising costs of education, accommodations, and other essentials, students often seek innovative ways to save money and express their creativity. Crafting furniture out of repurposed materials not only allows students to exercise their ingenuity but also creates functional and personalized items for their spaces.
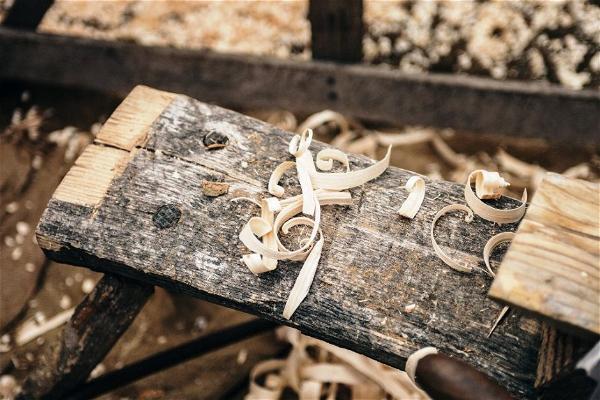
Moreover, there’s an inherent sustainability in upcycling. In an era where environmental consciousness is at its peak, the act of transforming a discarded pallet into a charming coffee table or study desk can make a significant eco-friendly impact. This practical approach not only reduces waste but also provides students with a tangible way to contribute to the health of our planet.
It’s fascinating how our generation has become adept at multitasking. On one side, we have students repurposing materials, and on the other, many are harnessing digital tools to simplify academic challenges. Just as someone might seek guidance from an online paper writer from EssayService to streamline their assignments, creating furniture from pallets is about leveraging available resources to enhance daily life.
Why Choose Pallets and Similar Materials?
Pallets are the unsung heroes of the cargo and shipping industry, designed to be robust and durable. Their sturdiness is primarily because they’re built to carry heavy loads. When this is combined with their widespread availability, it’s easy to see why they make a top choice for DIY projects.
The affordability of pallets cannot be overstated. Many warehouses, shops, or even construction sites are often looking to dispose of or sell off excess pallets. Thus, they’re either free or available for a minimal fee. This budget-friendly aspect is a boon for students who often operate on limited funds.
Lastly, choosing to reuse pallets (or similar materials) emphasizes a sustainable living approach. It’s a direct way to reduce the demand for new raw materials and curtail the waste that might otherwise end up in landfills.
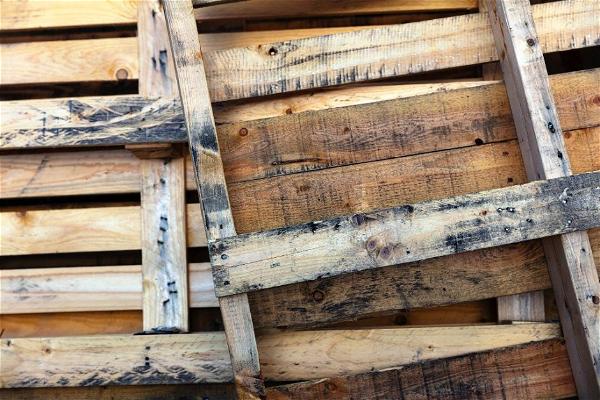
Required Materials
To embark on this creative journey, ensure you have the following tools and materials at hand:
– Essential Tools: A sturdy hammer, nails (or screws), a saw for cutting, a tape measure, and possibly a drill if you prefer screws over nails.
– Pallets or Alternative Materials: Source pallets from local warehouses, stores, or online platforms. Alternatively, consider materials like old doors, wooden crates, or plywood.
– Safety Equipment: Always prioritize safety. Equip yourself with protective gloves and safety goggles to prevent any potential injuries.
Armed with these materials and zeal for DIY, you’re now set to create your very own customized desk.
Step-by-Step Guide to Building a Desk from Pallets
Beginning with the preparation phase, you’ll first want to ensure the pallets are in a good state. Sanding the wood is paramount, as this process removes rough spots, splinters, and other irregularities from the surface, offering a smooth base to work on. This step, although a bit tedious, ensures your desk has a refined finish.
Once the pallets are sanded down, it’s essential to give them a thorough cleaning and disinfection. This can be achieved using a mixture of warm water and mild detergent, followed by a rinse and allowing them to air dry.
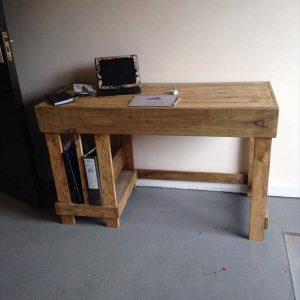
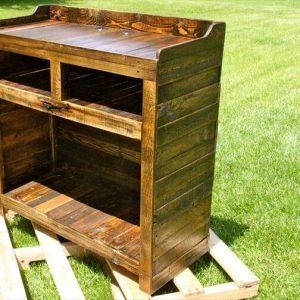
The design phase is where your vision comes to life. Decide on the dimensions of your desk. Do you envision a sprawling coffee table or a compact bedside one? This choice dictates how you’ll disassemble and cut your pallets. If you’re feeling ambitious, you can even integrate features such as shelves or drawers for added functionality.
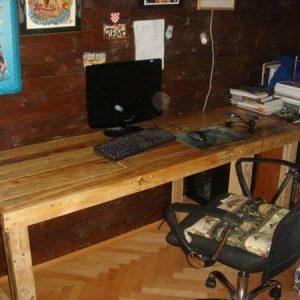
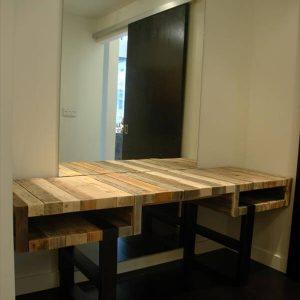
The assembly process might be the most rewarding stage. This is when you see your creation take form. Start by cutting the pallets according to your predetermined size. Use the wider sections for the tabletop and the more substantial blocks for the legs. With nails or screws, join the pieces together. It’s advisable to pre-drill holes if you’re using screws to prevent the wood from splitting. The aim is to ensure your desk is not only aesthetic but also sturdy.
Once assembled, you have the option of adding finishes. While some prefer the rustic look of untreated wood, others might want to paint or varnish their desk. This final touch is not only about aesthetics but also about protecting your table from wear and tear.
Alternative Materials and How to Use Them
While pallets are a fantastic starting point, other materials can be equally resourceful. For instance, old doors offer a sizable surface area that, with minor modifications, can be transformed into a tabletop. The inherent design of doors, especially paneled or carved ones, can add a vintage charm to your space.
Wooden crates, commonly used for fruits or wines, are another versatile material. When laid out flat, their depth can function as shelves or storage units beneath the table surface. By joining several crates side-by-side or stacking them, you can achieve a modular design, allowing flexibility in size and functionality.
Lastly, plywood is a worthy contender, especially if you’re aiming for a smooth, even surface. Plywood sheets can be cut to any size, providing a consistent texture and look. The edges can be framed with thin wooden strips to give it a more polished appearance.
In essence, each material, be it a pallet, door, crate, or plywood, brings its own unique flair and potential to the desk, quite literally. Your choice will be governed by the desired look, functionality, and resources at hand.
Decorating and Personalizing Your DIY Desk
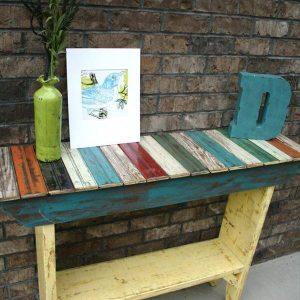
Every DIY project is a reflection of one’s personality, and the decoration phase is where this truly shines. After assembling your desk, consider the look you’re aiming for. A rustic appeal might benefit from a light stain, allowing the wood grain to show. On the other hand, a modern or eclectic space could welcome a bold paint color. Beyond paint and stains, stenciling can create intricate designs and patterns. If you’re looking for a more personal touch, consider embedding items into the desk, like photographs or memorabilia, sealing them with a clear resin. Moreover, for those who love a bohemian or vintage vibe, decoupage – the art of decorating objects with paper cut-outs – can be an excellent choice using old newspapers, magazines, or printed pictures.
Safety Tips and Best Practices
When working on any DIY project, safety should always be at the forefront. While you’re enthusiastic about crafting your desk, it’s essential to ensure a well-ventilated workspace, especially if you’re using chemicals, paints, or stains. Such materials can release fumes that are harmful when inhaled in large amounts or for prolonged periods. Protective equipment, like gloves and safety goggles, is not just a recommendation but a necessity. They protect against splinters, sharp edges, and any accidental hammer blows. Always check your finished desk for any protruding nails, screws, or splinters. Regular maintenance and checks will ensure your DIY desk remains both beautiful and safe for use.
Takeaway
Crafting a table or any piece of furniture, for that matter, is akin to writing a detailed essay. Just as students meticulously structure their thoughts and source references, the DIY process involves planning, sourcing materials, and bringing a vision to life. While some students may reach out to the best essay writing services to refine their work, crafting furniture is a tangible result of one’s effort and creativity, instilling a profound sense of accomplishment.
Furthermore, the beauty of such endeavors lies not just in the finished product but also in the journey. Every stroke of paint, every nailed plank, and every design decision becomes a story in itself. Whether you’re looking to save money, embrace sustainability, or merely channel your creativity, building a desk from pallets or other materials is an enriching experience that leaves a lasting mark, both in your space and in your spirit.





 Enhancing Your Space with Oval Dining Tables