Using CNC technology for your woodworking projects will enable you to create a multitude of items with the utmost accuracy without needing to perform manual operations. If you don’t know, CNC stands for computer numerical control.
Using CNC tools for woodworking projects, or projects that involve other materials like steel, plastics, and glass, begins with creating computer drawings and ends with automated cutting. If you’re new to the world of CNC technology, here’s a helpful overview of how to get started.

Step One: Create a Computer Drawing
Whether you use a CNC router for woodwork projects or another CNC tool, the process is basically the same. The first step always involves creating a computer drawing of the item you want to make using a computer-aided drawing program.
While there are various types of CAD programs available, the basics remain the same. You’ll use a set of drawing tools contained in your CAD program to create your design in the drawing area, using lines and shapes.
CAD programs come with editing tools so you easily customize and modify your designs. So, ultimately, instead of using tools like a pencil, a ruler, an eraser, and a protractor to create drawings for woodworking projects, you would use similar tools in a computer program.
Step Two: Create Toolpath Cutting Files
Once you have perfected the CAD drawing for your woodworking project, the next step is to create toolpaths. That means assigning bits to the different elements in your drawing.
To do that, you need to use computer-aided machining software, which is more commonly known as CAM software. During this stage, you’ll also program several settings to determine how quickly and aggressively each bit cuts.
The settings that you program will affect the cutting time and the quality of your cut. Next, you need to use a program or app known as a post-processor, which is included in most CAM programs.
The post-processing stage converts the bit toolpath information into G-code, which is the programming language that tells your CNC machine how and where to move.
Step Three: Load the Toolpath Files into the Controller
The next step involves loading the toolpath files into the controller. You’ll load the G-code instructions into either computer control panel software or a handheld control pendant. Some CNC tools use only one of those methods, whereas others are equipped with both options.
Step Four: Set Up Your Material and Machine the Item You Have Designed
The final stage is using your CNC tool to create the item you have designed. You’ll need to secure your material to the machine table, which could be done via clamps, screws, hot-melt glue, and other methods, and then calibrate the CNC machine to the location of the material.
The securing method you use will depend on the specific project. Regardless of the method you use, make sure your hold-down method prevents the material from shifting during the machining process and it doesn’t encroach on the toolpath of the bit.
To tell the CNC machine where the material is resting in relation to the bit, calibrate or zero the X, Y, and Z axes by using your control panel or pendant. After you have performed all of the above steps, double-check everything to ensure your setup is correct.
Then simply hit the “run” button and wait for the CNC tool to carry out your instructions and make the item you have designed.
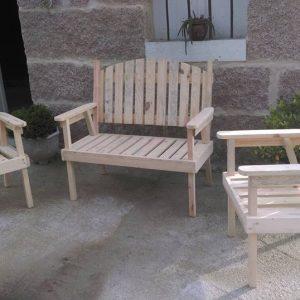
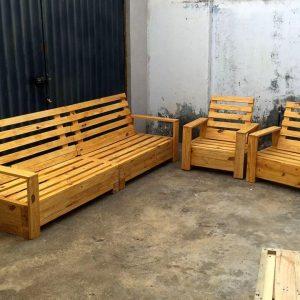
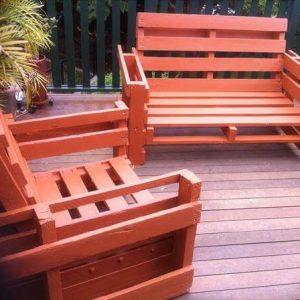
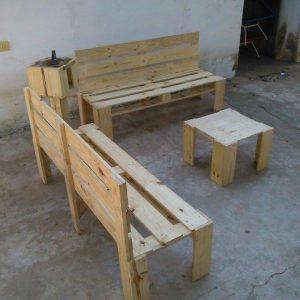
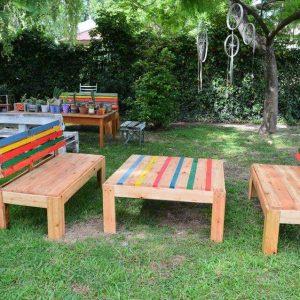
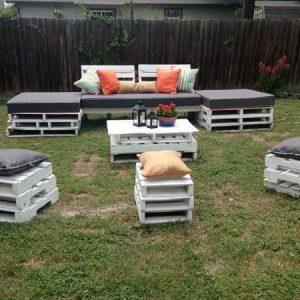
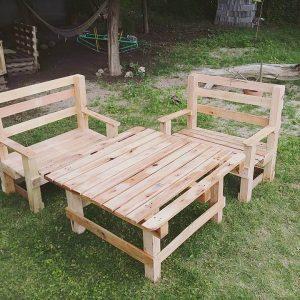
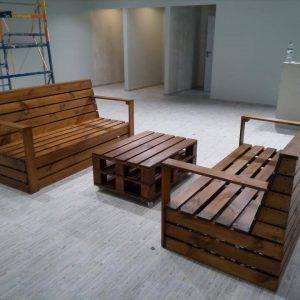
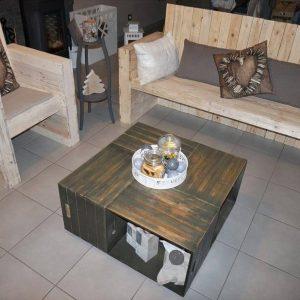
While CNC technology can certainly be immensely useful for various woodworking projects, you might enjoy completing other woodworking projects with more traditional methods. For instance, you could learn how to make pallet patio furniture.


 Complicated Home Renovation Project You Should Never Try To Do Yourself